Bootstrap Label Class
Introduction
As talked about previously, in the webpages that we are creating, we regularly need including simple or more difficult forms to request the website visitor for a viewpoint, comments, some individual data or preferences. We complete that including the proper managements within our forms very carefully considering the form construction as well as the specific controls that should certainly be employed regarding the info we need to have and the special circumstance included-- like we just can't have an order for a single colored phone case which is both blue and white , a person just can't be both male and female in gender or else a product needs to be accompanied with multiple attachments that do not exclude each other so selecting each must provide it not leaving out the others currently picked. In some cases, certainly, we do require a proper web mail presented or a phone number that in turn needs to have the input which has to follow particular format just to be correct and certainly at particular circumstances we just require site visitor's ideas on a subject the way they feel it-- in their personal words.
For each of these kinds of scenarios we utilize the suitable controls-- such as radio buttons, checkboxes, input fields, text message area components and more but there is definitely an necessary component combined each of such sectors which develops our forms simply clear and comfortable for the site visitor to browse through knowing at all times what is really needed and effortlessly managing even the small-sized commands like radio buttons and checkboxes. Most especially nowadays when the web becomes more and more mobile with webpages displayed on several small sized display screens this element is very important in granting productivity and swiftness in filling in our form.This element is a Bootstrap Label Button.
Efficient ways to put into action the Bootstrap Label Button:
What so far has been stated deal with the <label> component that is totally maintained in the latest edition of probably the most favored mobile friendly framework-- Bootstrap 4. The <label> element does not actually stand out having eye-catching presentation or else numerous functions yet it performs the probably most crucial purpose in our forms-- lets the site visitors learn what communicating using a specific form regulation will produce and including a number of clickable living space for switching on the control itself which in the event of small-sized controls like radio or checkboxes and mobile device display screens is important.
The structure is quite simple-- simply insert a <label> element inside your markup appointing it the for =" ~ labeled form control ID ~ " attribute and create the correct message you desire to be displayed in it. The for="" attribute directs the internet browser which form regulation to get turned on in case the user clicks the <label> component and can surely be omitted helping keep the identical behaviour if you simply wrap the wanted regulation inside the <label> in itself.
However wrapping form commands inside labels is pretty complicating the code and it is actually better to reject it-- additionally utilizing the for ="" attribute you obtain some independence in designing your form's configuration so it is definitely the better way to go for.
Together with usual text message within the <label> you are able to additionally set some simple HTML tags like a heading or a short part perhaps-- that is definitely not a usual instance yet is feasible and without a doubt all of it relies on the specific objective of the form you are actually dealing with.
Example of form without label
Should you feature no text message within the <label>, the input is arranged as you 'd look for. Presently simply does the trick on non-inline checkboxes and radios. Remember to also provide some form of Bootstrap Label Text for assistive technologies ( as an example, using aria-label).

<div class="form-check">
  <label class="form-check-label">
    <input class="form-check-input" type="checkbox" id="blankCheckbox" value="option1" aria-label="...">
  </label>
</div>
<div class="form-check">
  <label class="form-check-label">
    <input class="form-check-input" type="radio" name="blankRadio" id="blankRadio1" value="option1" aria-label="...">
  </label>
</div>
Informative matter to note
Informative matter to mention about labels within Bootstrap 4 in case that in the new model of the framework this variety of element's styling has been really changed a little. The <label> elements now are not showed just as inline-block that acquires more desirable adaptability within positioning allowing several margins to be established.
Conclusions
So now you figure out what the # elements are for and how they function in Bootstrap 4-- everything that's left is thinking of the suitable form areas you need to connect them to.
Look at a number of online video information relating to Bootstrap label
Connected topics:
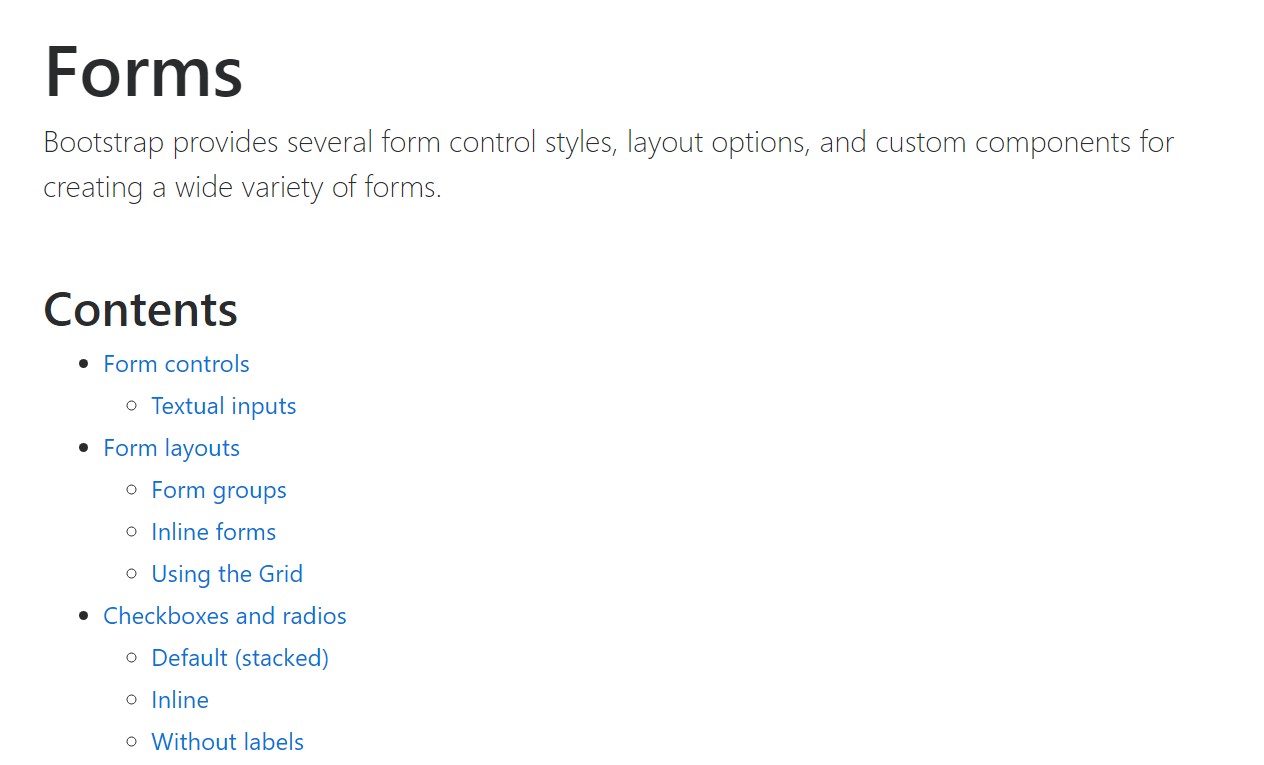
Operation of the label in in Bootstrap Forms: formal documents
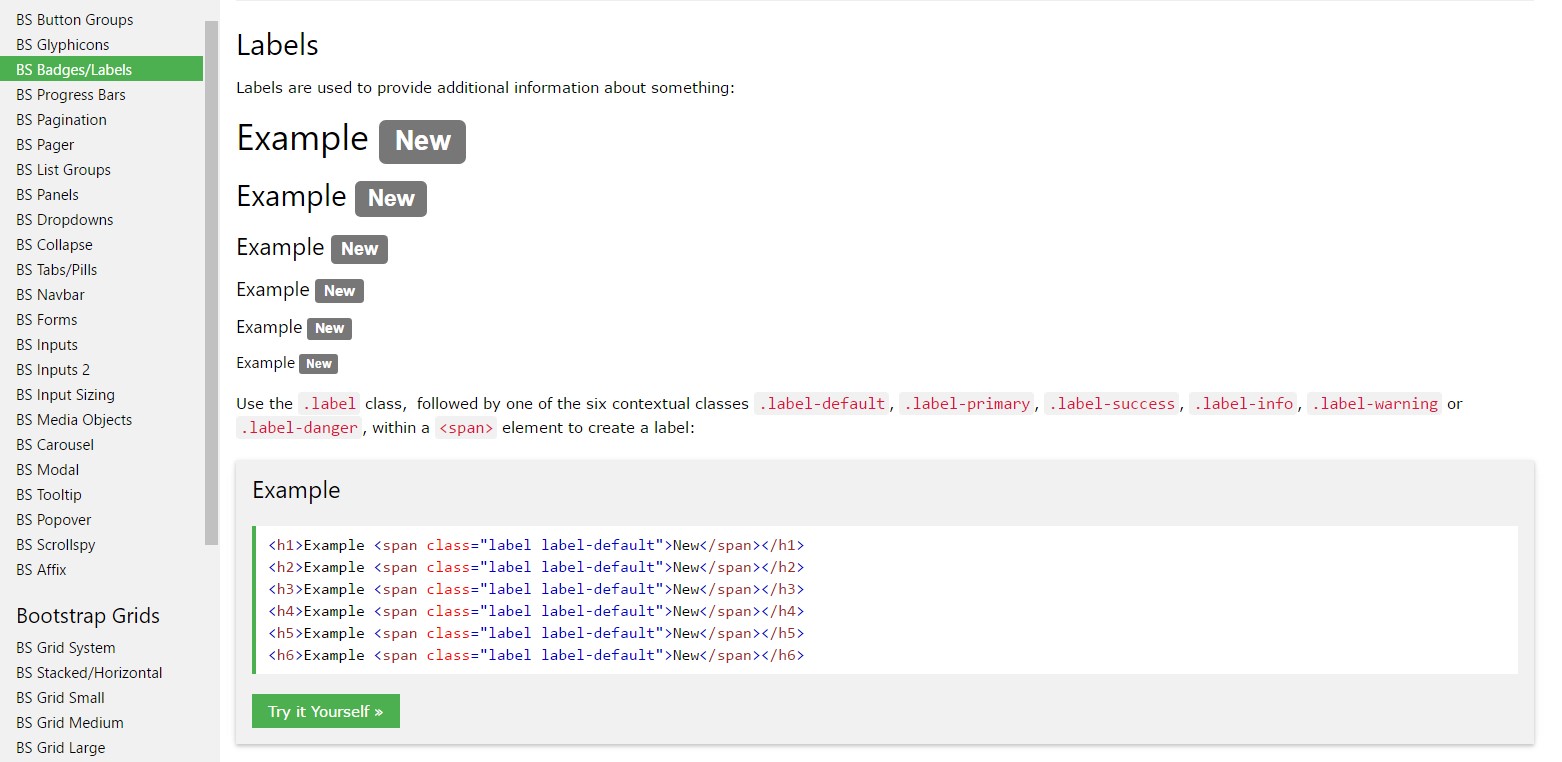
Bootstrap label information
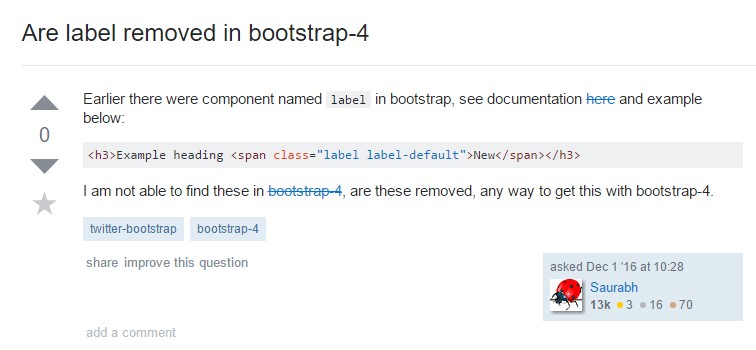
Taking out label in Bootstrap 4